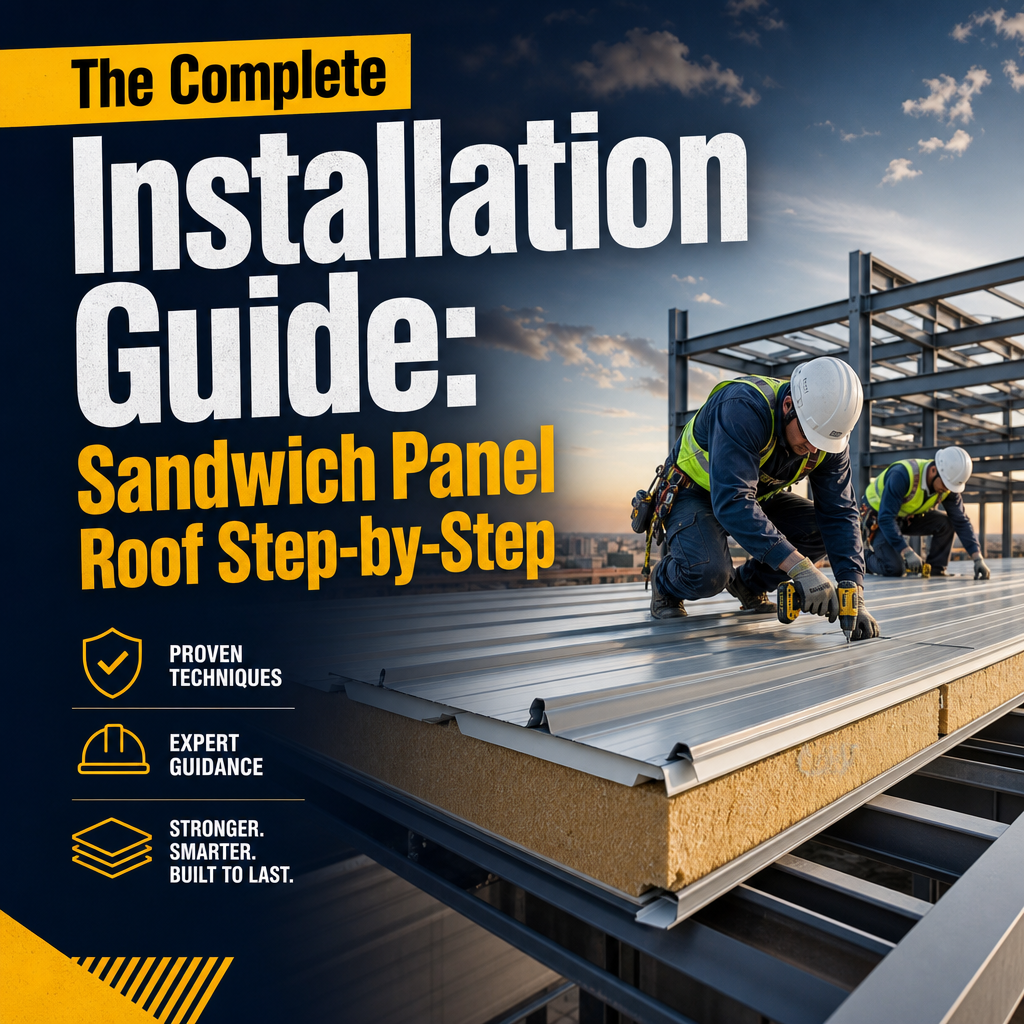
A poorly installed sandwich panel roof can lose up to 30% of its thermal efficiency within the first year — not because of the panels themselves, but because of avoidable installation errors. Whether building a factory, cold room, or agricultural facility, following a precise installation guide for a sandwich panel roof is the difference between a structure that performs for decades and one that fails prematurely.
This installation guide for sandwich panel roofs covers everything from pre-installation planning to final sealing, giving contractors and building owners a clear, actionable roadmap for 2026 and beyond.
Key Takeaways 📌
- Proper preparation — including structural assessment and panel selection — is as critical as the installation itself.
- Panel orientation and overlap directly affect weatherproofing and thermal performance.
- Fastener type and spacing must match the panel's core material and roof load requirements.
- Sealing and flashing at joints, ridges, and eaves prevent moisture infiltration and energy loss.
- Post-installation inspection catches errors before they become expensive structural problems.
What Is a Sandwich Panel Roof?
A sandwich panel roof consists of three bonded layers: two rigid steel or aluminum face sheets surrounding an insulating core. The core material — typically EPS (Expanded Polystyrene), PU (Polyurethane), or Rockwool — determines the panel's thermal, acoustic, and fire performance.
These panels are widely used in:
- 🏭 Industrial factories and warehouses
- 🐔 Poultry farms and agricultural buildings
- ❄️ Cold rooms and refrigerated storage
- 🏥 Clean rooms and hospital operating theaters
- 🍱 Food processing facilities
"Sandwich panels combine structural integrity with insulation in a single, pre-engineered component — dramatically cutting construction time compared to conventional roofing."
For a deeper look at how panel choice affects performance, see this guide on how to choose sandwich panel thickness before beginning any installation project.
Pre-Installation Planning: The Foundation of a Successful Roof
Structural Assessment
Before any panel is lifted into place, the supporting structure must be evaluated. Key checks include:
| Structural Factor | Requirement |
|---|---|
| Purlin spacing | Typically 1.2m–1.8m depending on panel span |
| Purlin levelness | Maximum deviation: ±5mm across span |
| Steel frame alignment | All connection points plumb and square |
| Load capacity | Must support panel weight + live loads (snow, wind, foot traffic) |
Uneven purlins are the #1 cause of panel warping and joint failure. Correct any alignment issues before delivery.
Selecting the Right Panel
Panel selection depends on the building's purpose:
- EPS core panels — cost-effective, good thermal insulation, suitable for general industrial use
- PU/PIR core panels — superior thermal efficiency, ideal for cold rooms and temperature-sensitive environments
- Rockwool core panels — excellent fire resistance, recommended for facilities with strict fire codes
For factory and industrial buildings, explore the complete guide to sandwich panel for factory buildings to match panel specs to structural demands.
Tools and Materials Checklist ✅
- Lifting equipment (crane or panel lifter)
- Cordless drill with appropriate bits
- Self-drilling roofing screws (stainless steel or coated)
- Sealing tape and foam backer rod
- Silicone sealant (UV-resistant)
- Ridge caps, eave flashings, and side flashings
- Safety harnesses and fall protection equipment
- Chalk line and measuring tape
Step-by-Step Installation Guide: Sandwich Panel Roof
Step 1 — Establish a Reference Line
Mark a chalk line along the eave purlin to establish a perfectly straight starting edge. Every panel installed after this point references this line. A deviation of even 10mm at the eave can compound into significant misalignment by the ridge.
Step 2 — Position the First Panel
Place the first panel at the lower corner of the roof slope, with the female edge facing outward (away from the next panel). The panel should overhang the eave purlin by the specified amount — typically 50–80mm — to allow water runoff into gutters.
🔑 Pro Tip: Always check the manufacturer's directional arrows on the panel face. Installing panels in the wrong direction can compromise the interlocking joint system.
Step 3 — Fasten the First Panel
Secure the panel to each purlin using self-drilling screws through the rib/crest of the profiled face sheet. Standard fastener spacing:
| Purlin Location | Fastener Frequency |
|---|---|
| Eave and ridge purlins | 2 fasteners per rib |
| Intermediate purlins | 1 fastener per rib |
| Side laps | As per manufacturer spec |
Use stainless steel or hot-dip galvanized screws with EPDM washers to prevent corrosion and ensure a watertight seal.
Step 4 — Install Subsequent Panels (Lapping Method)
Slide the male edge of the next panel into the female edge of the installed panel. Apply butyl sealing tape inside the joint before closing the lap — this is a non-negotiable step for weatherproofing.
"A dry-lapped joint without sealant tape is an open invitation for water ingress and thermal bridging."
Continue across the roof width, checking alignment every 3–4 panels with a tape measure from the eave chalk line.
Step 5 — Handle Ridge Details
At the roof ridge, panels from both slopes meet. Install a foam closure strip along the top of each panel before fitting the ridge cap. The ridge cap should overlap each slope by a minimum of 150mm and be fixed at 300mm centres.
For projects involving temperature-controlled environments, the ridge detail is especially critical. Review the sandwich panel roof installation guide for Bangladesh for climate-specific recommendations relevant to hot and humid conditions.
Step 6 — Install Eave, Verge, and Hip Flashings
Flashings seal the perimeter of the roof and prevent wind-driven rain from entering under panel edges. Key flashing locations:
- Eave flashing — closes the gap between panel underside and wall
- Verge/gable flashing — seals the open panel ends at gable walls
- Hip and valley flashings — required on complex roof geometries
All flashings should be fixed with pop rivets at 200mm centres and sealed with UV-resistant silicone at all overlaps.
Step 7 — Seal All Penetrations
Any roof penetration — ventilation pipes, electrical conduits, HVAC units — must be individually sealed using purpose-made pipe collars or custom-fabricated flashing plates. Apply sealant in two beads: one beneath the flashing and one on top where it meets the panel face.
Common Installation Mistakes to Avoid ⚠️
| Mistake | Consequence | Fix |
|---|---|---|
| Skipping sealing tape at laps | Water ingress, mold | Always tape before lapping |
| Over-tightening screws | Panel face distortion | Use torque-controlled drill |
| Incorrect panel direction | Joint system failure | Follow manufacturer arrows |
| Inadequate purlin leveling | Panel bowing | Level purlins before installation |
| No foam closure at ridge | Wind uplift, heat loss | Install closures at all open ends |
Installation Guide Sandwich Panel Roof: Safety Protocols
Working at height on a sloped roof surface demands strict safety compliance:
- Personal fall arrest systems must be worn at all times above 2m
- Use roof edge protection barriers or safety nets
- Never walk directly on installed panels — use crawl boards distributed across at least 3 purlins
- Conduct a toolbox talk before work begins each day
- Ensure crane operators are certified and lift plans are approved
Sandwich panels, while strong in compression, can crack under concentrated point loads. Always distribute body weight using crawl boards.
Post-Installation Inspection Checklist
Once installation is complete, conduct a thorough inspection before signing off:
- All panel joints fully lapped and sealed
- Ridge cap correctly overlapped and fixed
- All flashings sealed with silicone
- No visible panel damage (dents, scratches through coating)
- All penetrations sealed
- Fastener count verified against specification
- Drainage path clear — no debris blocking gutters
For long-term performance, establish a maintenance schedule. The complete guide to maintenance of sandwich panels outlines inspection intervals and common repair procedures that extend panel lifespan significantly.
Special Applications: Adapting the Installation Guide for Sandwich Panel Roofs
Cold Room Roofs
Cold room installations demand higher panel thickness (typically 100mm–200mm PU core) and continuous vapour barriers at all joints. Even minor gaps cause condensation buildup inside the insulation layer, leading to core degradation. See the cold room sandwich panel installation guide for application-specific details.
Poultry Farm Roofs
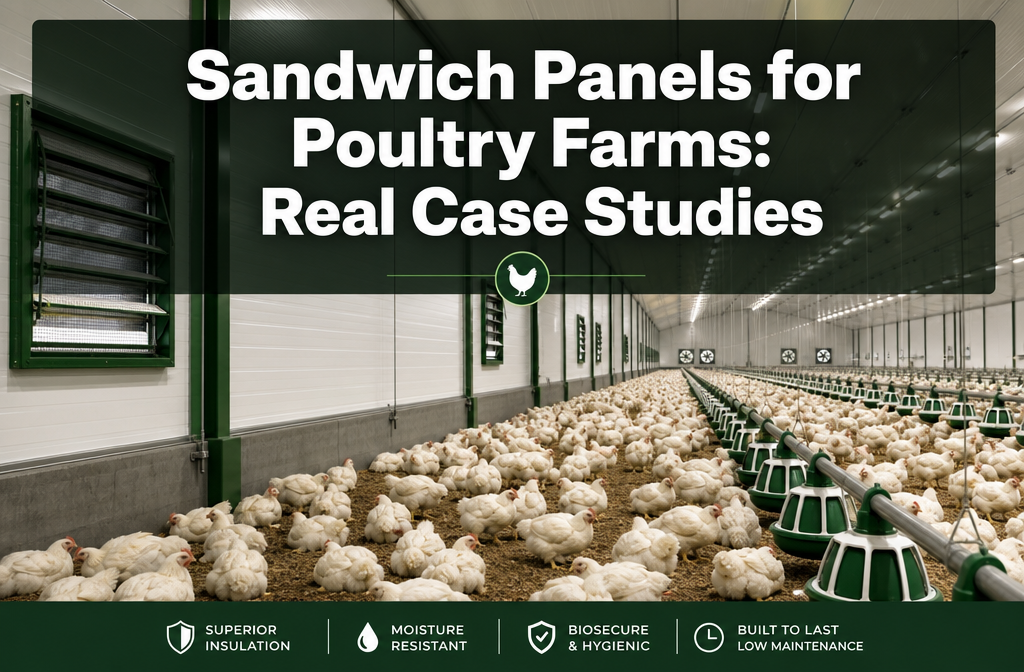
Poultry environments generate high humidity and corrosive ammonia vapour. Panels with anti-corrosion coatings and sealed joints are essential. Ventilation ridge details also differ from standard industrial roofs. The complete guide to poultry farm sandwich panels covers these requirements in full.
Fire-Rated Roofs
Facilities requiring fire-rated roofing — including food processing plants and pharmaceutical buildings — should specify Rockwool core panels. Installation procedures are largely the same, but joint detailing must maintain the panel's fire rating continuity. Learn more about Rockwool sandwich panel fire safety to understand compliance requirements.
Panel Thickness Quick Reference Guide
| Application | Recommended Core Thickness | Core Type |
|---|---|---|
| General industrial roof | 50–75mm | EPS or PU |
| Cold room / freezer | 100–200mm | PU |
| Poultry farm | 75–100mm | EPS or PU |
| Clean room / OT | 75–100mm | PU |
| Fire-rated facility | 75–100mm | Rockwool |
Conclusion: Build It Right the First Time
A sandwich panel roof is only as good as its installation. Following this installation guide for sandwich panel roofs — from structural preparation through to final sealing and inspection — ensures the building performs at its designed thermal, structural, and weatherproofing specifications for 20+ years.
Actionable next steps:
- ✅ Conduct a structural assessment and level all purlins before panel delivery
- ✅ Select the correct panel type and thickness for the specific application
- ✅ Source all accessories — sealing tape, flashings, foam closures — before installation begins
- ✅ Brief the installation team on safety protocols and correct fastening techniques
- ✅ Schedule a post-installation inspection and set up a regular maintenance programme
Getting the installation right the first time eliminates costly retrofits, energy losses, and structural failures down the line. When in doubt, work with experienced sandwich panel suppliers who provide technical installation support alongside their products.
References
- Metal Construction Association. (2019). Insulated Metal Panel Installation Guidelines. MCA Technical Series.
- European Sandwich Panel Association (ESPA). (2020). Best Practice Guide for Sandwich Panel Roofing Systems. ESPA Publications.
- Steel Construction Institute. (2018). Design of Sandwich Panels for Roofing Applications. SCI Publication P346.
- International Building Code (IBC). (2021). Chapter 15: Roof Assemblies and Rooftop Structures. ICC.
- ASHRAE. (2022). Handbook of Fundamentals: Thermal Insulation for Building Applications. ASHRAE Press.