Last updated: July 31, 2026

Quick Answer
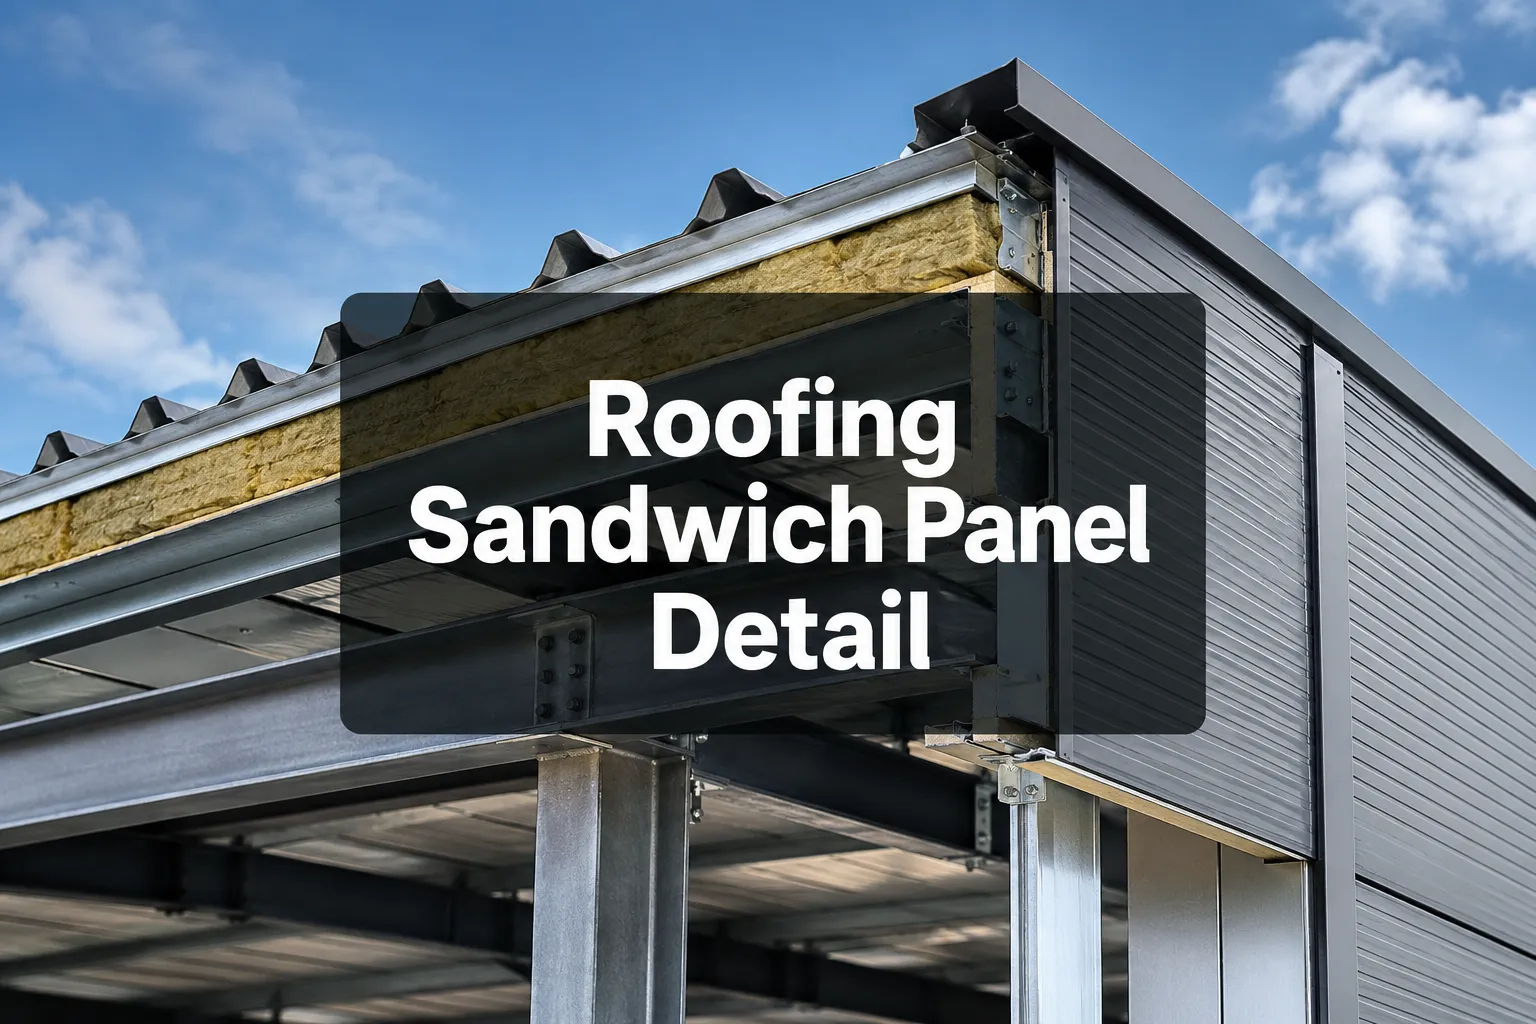
Roofing sandwich panel roof detail involves a three-layer construction system with two metal sheets bonding an insulating core material like polyurethane (PU), expanded polystyrene (EPS), or rockwool. This system provides superior thermal insulation, structural strength, and weather resistance compared to traditional roofing methods. The key details include proper joint sealing, thermal bridging prevention, and correct fastening patterns to ensure long-term performance.
Key Takeaways
- Three-layer construction combines two metal sheets with an insulating core for optimal thermal and structural performance
- Installation requires specialized techniques including proper overlap joints, sealant application, and thermal bridge elimination
- Cost ranges from $15-35 per square meter depending on core material, thickness, and project complexity
- Thermal performance varies by core type with PU panels offering R-values of 6-8 per inch, rockwool providing fire resistance
- Professional installation is essential to prevent common issues like thermal bridging, air leakage, and moisture infiltration
- Maintenance involves regular inspection of joints, sealants, and fasteners every 6-12 months
- Lifespan typically exceeds 25-30 years with proper installation and maintenance
- Fire ratings depend on core material with rockwool panels achieving A1 non-combustible classification
- Condensation control requires proper vapor barriers and ventilation design in the roof assembly
What Are Roofing Sandwich Panels and How Do They Work
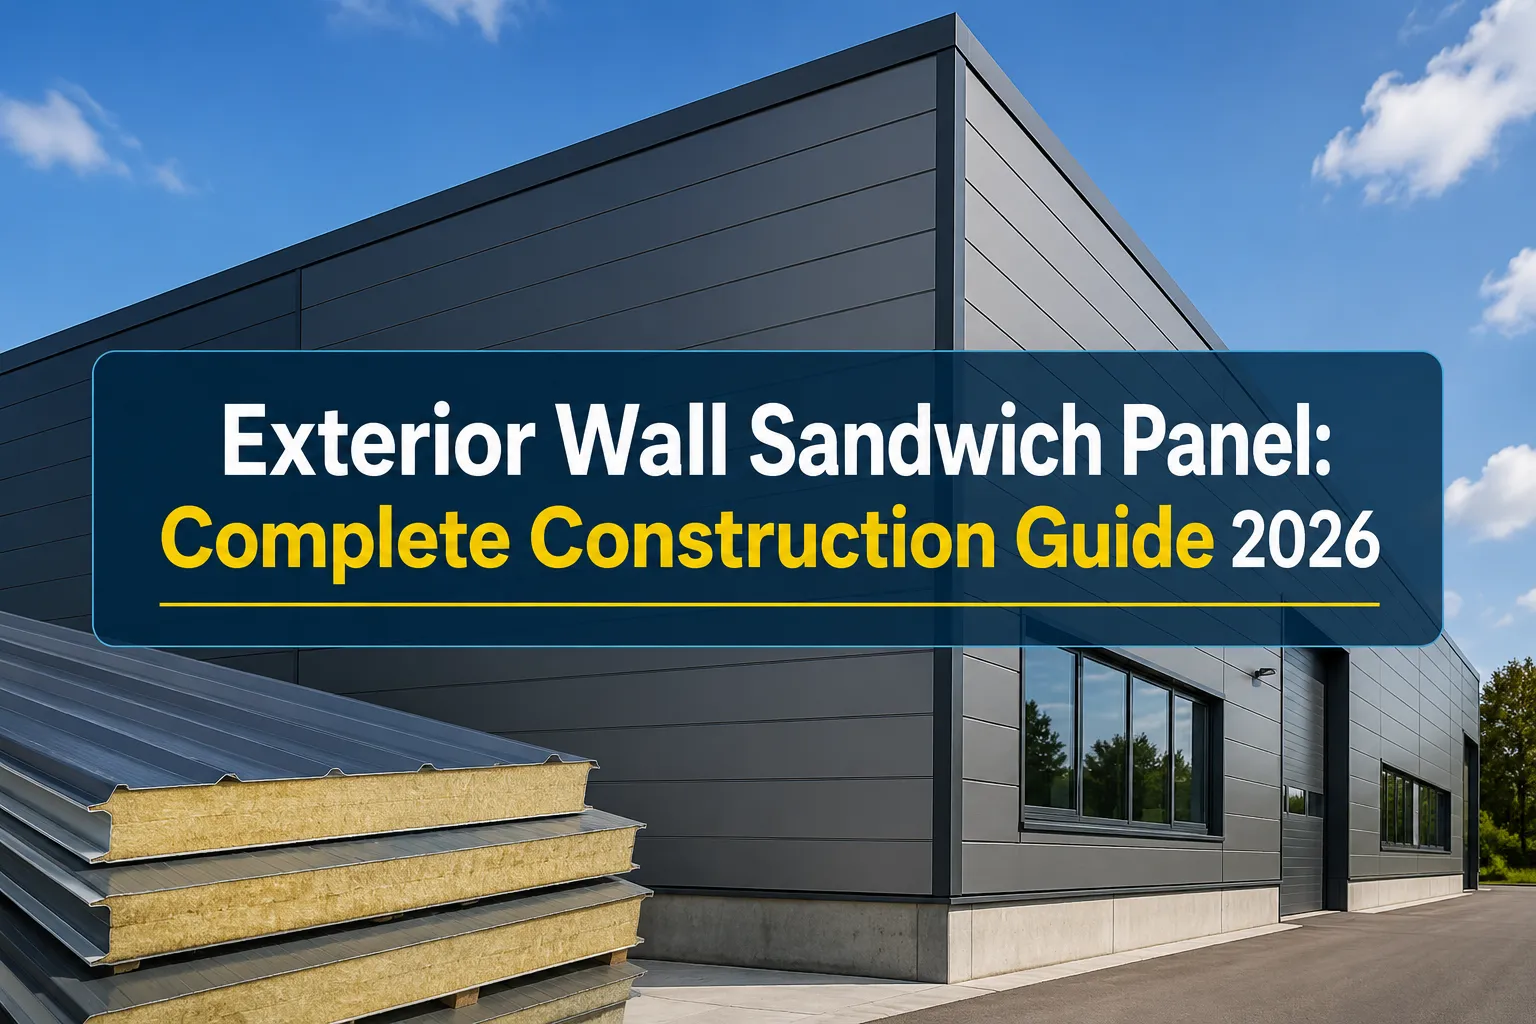
Roofing sandwich panels are composite building materials consisting of two outer metal sheets (typically steel or aluminum) bonded to an insulating core material. The core materials include polyurethane foam (PU), expanded polystyrene (EPS), polyisocyanurate (PIR), or mineral wool (rockwool).
The panels work through a structural composite action where the outer metal sheets provide strength and weather protection while the core delivers thermal insulation and structural stability. This combination creates a lightweight yet strong roofing system that eliminates thermal bridging common in traditional construction.
Core Material Properties:
- PU foam: Excellent thermal performance (R-6 to R-8 per inch), good structural strength
- EPS: Cost-effective insulation (R-4 per inch), lightweight, moisture resistant
- Rockwool: Superior fire resistance (A1 rating), sound absorption, breathable
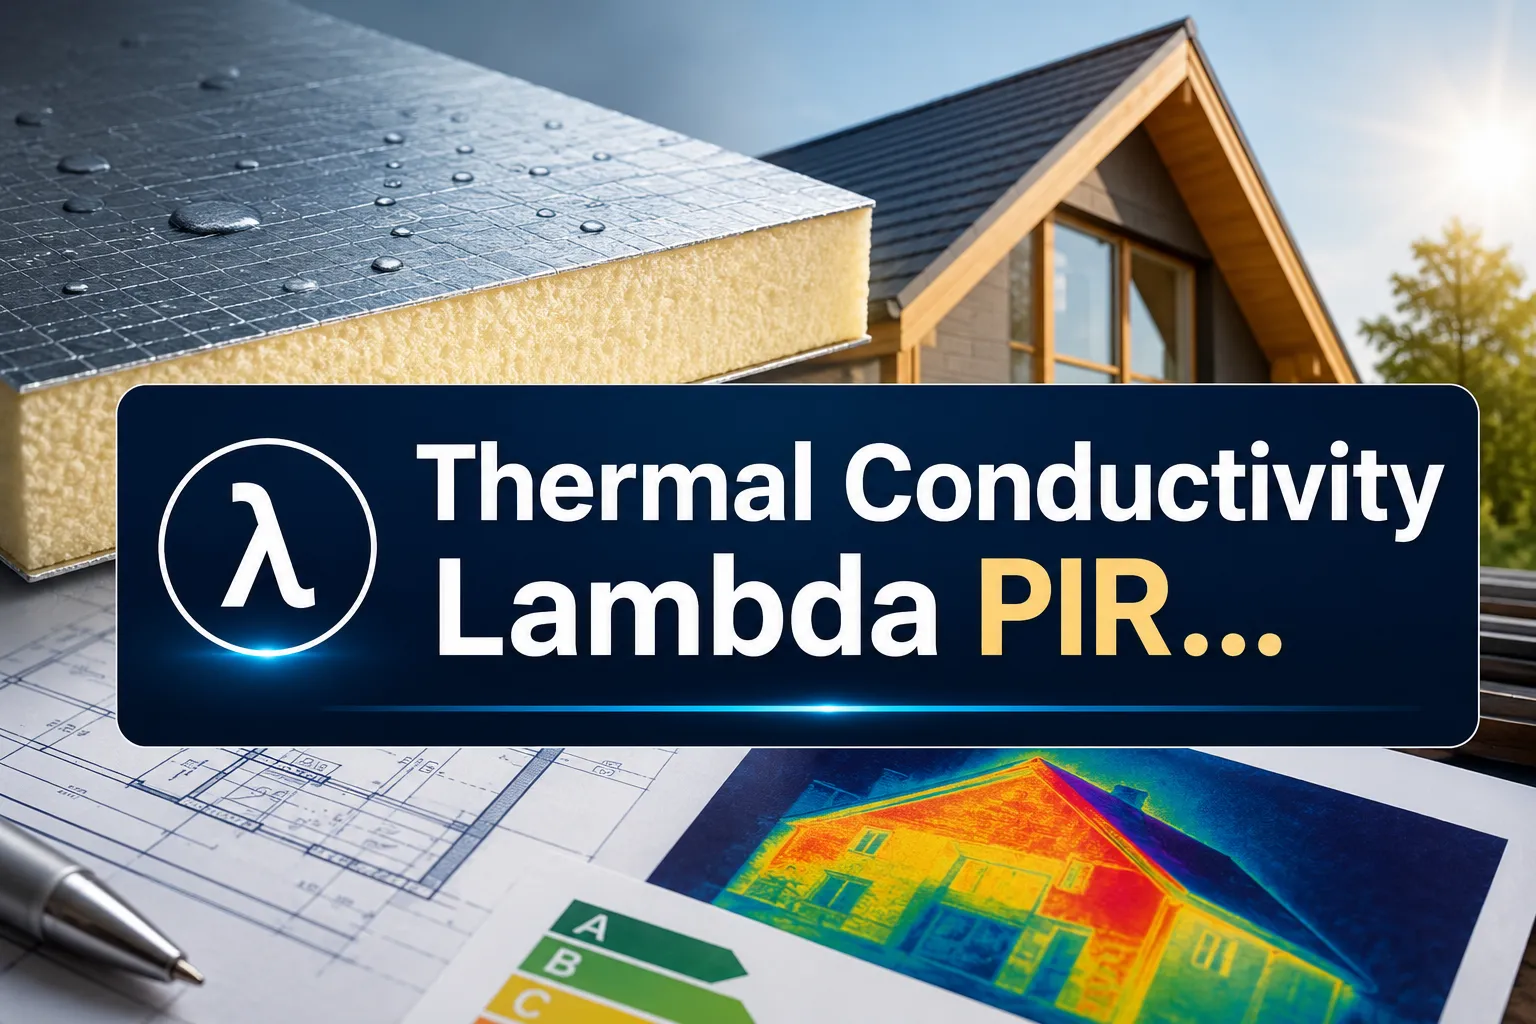
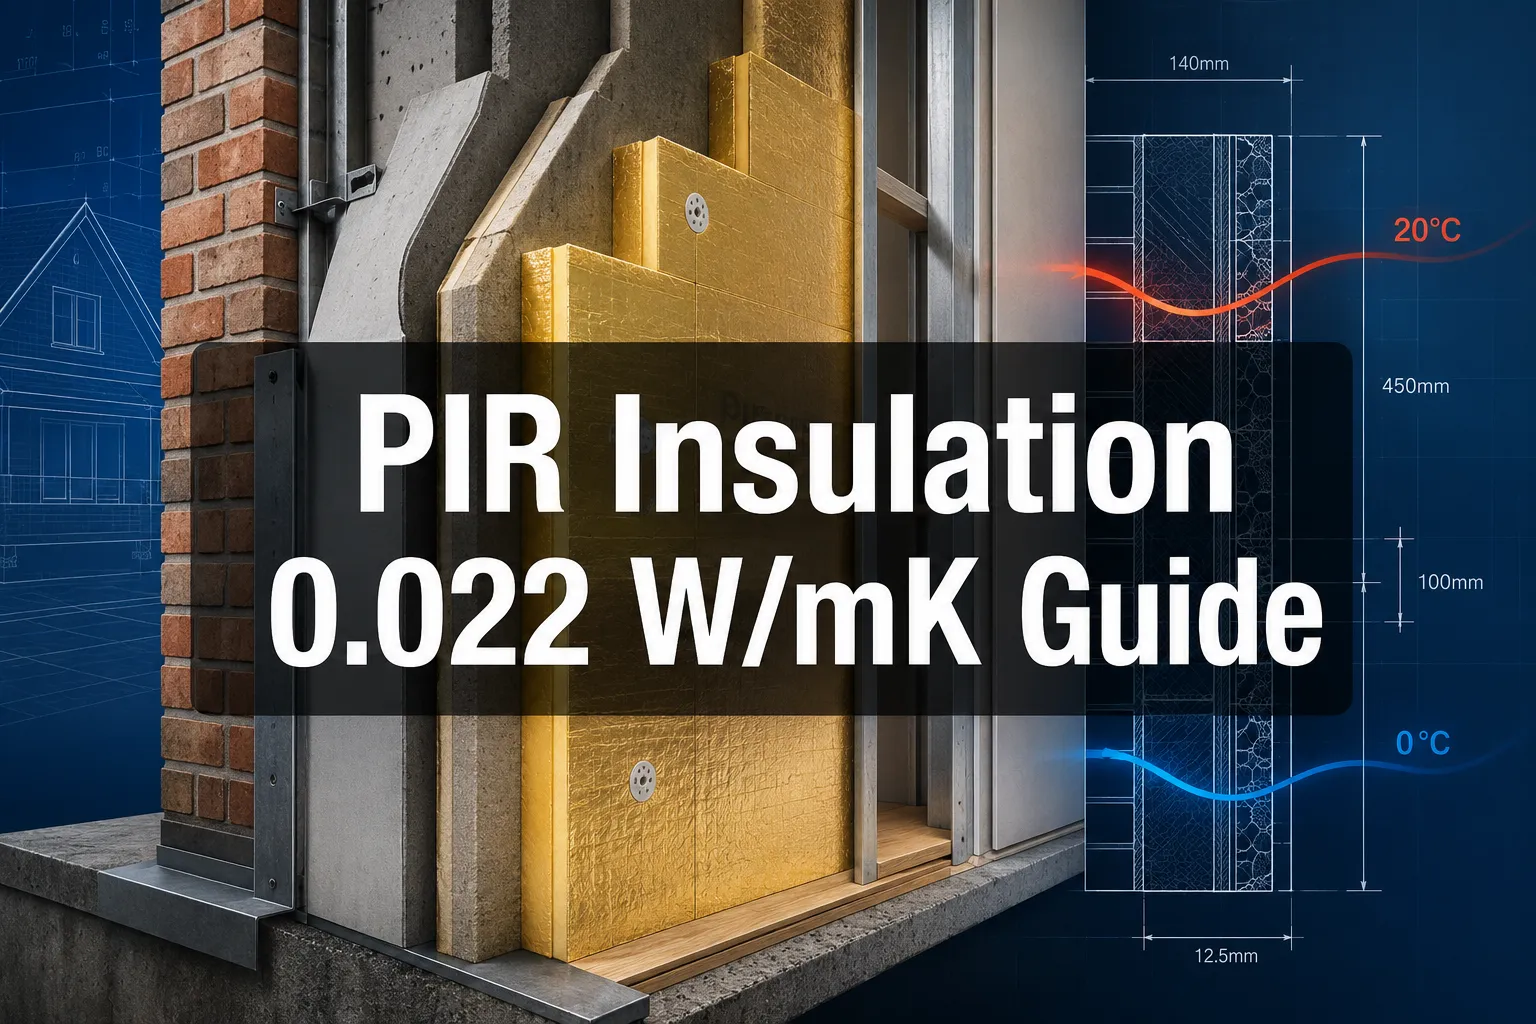
- PIR: High thermal efficiency (R-7 per inch), low smoke emission, dimensionally stable
The manufacturing process involves continuous lamination under controlled pressure and temperature, creating a permanent bond between layers. This eliminates the need for separate insulation installation and reduces construction time significantly.
Choose PU panels if you need maximum thermal efficiency and structural performance. Select rockwool panels if fire resistance is the primary concern. Opt for EPS panels if budget constraints are critical and thermal requirements are moderate.
Sandwich Panel Roof vs Traditional Roofing: Which Is Better
Sandwich panel roofing outperforms traditional systems in thermal efficiency, installation speed, and long-term maintenance costs. Traditional roofing requires separate insulation layers, vapor barriers, and multiple trade installations, while sandwich panels integrate these functions into a single component.
Performance Comparison:
| Factor | Sandwich Panels | Traditional Roofing |
|---|---|---|
| Thermal Performance | R-6 to R-8 per inch | R-3 to R-5 per inch |
| Installation Time | 50-70% faster | Standard timeline |
| Labor Requirements | Single trade | Multiple trades |
| Thermal Bridging | Minimal | Significant |
| Maintenance | Low | Moderate to high |
Advantages of Sandwich Panels:
- Faster installation: Single-component system reduces construction time by 50-70%
- Superior insulation: Continuous insulation eliminates thermal bridges
- Structural efficiency: Composite action provides high strength-to-weight ratio
- Weather tightness: Factory-controlled joints ensure consistent sealing
- Design flexibility: Available in various profiles, colors, and finishes
Traditional roofing advantages:
- Lower initial cost: Material costs typically 20-30% less
- Familiar installation: Most contractors experienced with conventional methods
- Repair flexibility: Individual components can be replaced separately
- Local availability: Materials readily available in most markets
Choose sandwich panels if energy efficiency, speed of construction, and long-term performance are priorities. Select traditional roofing if initial cost is the primary concern and energy codes are less stringent.
Common mistake: Comparing only initial material costs without considering installation labor, energy savings, and maintenance over the building lifecycle.
How Much Does a Sandwich Panel Roof Cost to Install
Sandwich panel roof installation costs range from $15-35 per square meter for materials and $8-15 per square meter for professional installation in 2026. Total project costs vary significantly based on panel thickness, core material, project size, and regional labor rates.
Cost Breakdown by Core Material:
- EPS panels: $15-22 per square meter (material only)
- PU panels: $20-28 per square meter (material only)
- Rockwool panels: $25-35 per square meter (material only)
- PIR panels: $22-30 per square meter (material only)
Installation factors affecting cost:
- Project size: Larger projects achieve economies of scale with 15-25% cost reduction
- Roof complexity: Simple rectangular roofs cost 20-30% less than complex geometries
- Access conditions: Difficult site access can increase labor costs by 25-40%
- Panel thickness: Thicker panels (150mm vs 100mm) add 30-50% to material cost
- Fastening requirements: High wind load areas require additional fasteners
Additional cost considerations:
- Structural modifications to support panel loads
- Crane rental for panel installation ($500-1500 per day)
- Specialized sealants and accessories ($2-5 per square meter)
- Building permit and inspection fees
For detailed pricing information, consult our sandwich panel roofing sheet price guide which covers current market rates and cost factors.
Budget $25-50 per square meter total for a complete sandwich panel roof system including materials and professional installation. Projects under 500 square meters typically see higher per-unit costs due to mobilization expenses.
Sandwich Panel Roof Installation Steps and Process
Professional sandwich panel roof installation follows a systematic process to ensure proper performance and longevity. The installation requires specialized equipment, trained personnel, and strict adherence to manufacturer specifications.
Pre-Installation Requirements:
- Structural verification: Confirm load capacity meets panel and live load requirements
- Weather conditions: Install only in dry conditions with winds under 25 mph
- Material inspection: Check panels for damage, correct dimensions, and proper labeling
- Tool preparation: Ensure specialized cutting tools, sealants, and fasteners are available
Step-by-Step Installation Process:
Step 1: Layout and Planning
- Mark panel positions according to structural drawings
- Establish reference lines for proper alignment
- Plan panel sequence to minimize cutting and waste
Step 2: First Panel Installation
- Position starter panel with proper overhang (typically 50-75mm)
- Secure with appropriate fasteners at specified spacing
- Apply structural sealant to male edge before next panel
Step 3: Subsequent Panel Installation
- Engage female edge with previous panel's male edge
- Apply downward pressure while sliding panel into position
- Secure with fasteners through both panels at overlap
Step 4: Joint Sealing
- Clean all joint surfaces before sealant application
- Apply weather sealant to exterior joint surfaces
- Install closure strips and flashing as required
Step 5: Ridge and Eave Details
- Install ridge caps with proper ventilation provisions
- Seal eave conditions with appropriate flashing
- Complete all penetration details with manufacturer-approved methods
For comprehensive installation guidance, refer to our complete sandwich panel roof installation guide which includes detailed technical specifications.
Critical installation rule: Never install panels in wet conditions or when condensation is present on the roof structure. Moisture trapped during installation can cause long-term performance issues.
Common mistake: Inadequate sealant application at panel joints, leading to water infiltration and thermal bridging.
Sandwich Panel Roof Leaking Problems and Fixes
Sandwich panel roof leaks typically occur at panel joints, penetrations, or end laps due to improper installation or sealant failure. Most leaking problems are preventable through correct installation techniques and regular maintenance.
Common leak locations and causes:
- Side lap joints: Insufficient or failed sealant application
- End lap joints: Improper overlap length or missing closure strips
- Penetrations: Inadequate flashing or sealant around roof-mounted equipment
- Ridge details: Missing or damaged ridge caps and ventilation components
- Eave conditions: Improper drainage or blocked gutters causing backup
Immediate leak repair steps:
- Identify source: Use water testing to locate exact leak point
- Clean area: Remove old sealant and debris from repair zone
- Apply temporary fix: Use compatible sealant for immediate water stoppage
- Plan permanent repair: Order matching materials and schedule proper weather window
Permanent repair methods:
- Joint resealing: Remove old sealant, clean surfaces, apply new structural and weather sealants
- Panel replacement: Replace damaged panels with matching profile and thickness
- Flashing repair: Install new flashing with proper overlap and sealing
- Fastener replacement: Replace corroded or loose fasteners with appropriate grade
Prevention strategies:
- Inspect roof joints every 6 months for sealant condition
- Clean gutters and drains regularly to prevent water backup
- Remove debris that could puncture or damage panels
- Address minor issues immediately before they become major problems
When to call professionals: Complex leaks involving multiple panels, structural damage, or safety concerns require professional assessment and repair.
Edge case: Leaks appearing during extreme weather may indicate inadequate structural design rather than installation defects. Professional structural evaluation may be necessary.
Best Alternatives to Sandwich Panel Roofs
Several roofing alternatives offer different advantages depending on project requirements, budget constraints, and performance priorities. Each system has specific applications where it may outperform sandwich panels.
Standing seam metal roofing provides excellent longevity and weather resistance with separate insulation systems. This option works best for architectural applications requiring specific aesthetic profiles or where panel thickness restrictions exist.
Built-up roofing (BUR) systems offer proven performance for low-slope applications and can accommodate heavy foot traffic. Choose BUR when roof access requirements are high or when traditional roofing contractors are more readily available.
Single-ply membrane systems (TPO, EPDM, PVC) provide cost-effective solutions for large, simple roof areas. These systems work well when insulation requirements are minimal or can be met with separate insulation layers.
Structural insulated panels (SIPs) offer similar benefits to sandwich panels but with different structural capabilities. SIPs work better for residential applications or where structural spanning requirements differ from standard sandwich panel capabilities.
Alternative comparison factors:
- Initial cost: Membrane systems typically 30-40% less expensive initially
- Energy performance: Sandwich panels generally superior due to continuous insulation
- Maintenance: Metal systems require less frequent maintenance than membranes
- Lifespan: Metal systems typically last 25-40 years vs 15-25 for membranes
- Installation complexity: Sandwich panels require specialized installation knowledge
Choose alternatives when:
- Budget constraints prioritize lowest initial cost
- Roof geometry is too complex for standard panel installation
- Local building codes restrict sandwich panel use
- Aesthetic requirements demand specific profiles not available in panels
- Existing structural capacity cannot support panel loads
For specific application guidance, consider consulting our best sandwich panel manufacturer guide to understand when panels are the optimal choice.
Who Should Use Sandwich Panel Roofs: Residential or Commercial
Sandwich panel roofs excel in commercial, industrial, and agricultural applications but have limited residential use due to aesthetic and code restrictions. The technology's benefits align best with buildings prioritizing energy efficiency, construction speed, and long-term performance over residential appearance standards.
Ideal commercial applications:
- Warehouses and distribution centers: Large spans, energy efficiency requirements
- Manufacturing facilities: Thermal performance, structural capacity, quick installation
- Cold storage buildings: Superior insulation, moisture resistance, structural integrity
- Agricultural buildings: Cost-effectiveness, durability, livestock environment control
Industrial project benefits:
- Rapid construction schedules reduce financing costs
- Superior thermal performance lowers operating expenses
- Structural efficiency enables longer spans with fewer supports
- Weather-tight construction protects equipment and inventory
Limited residential applications:
- Rural/agricultural residential: Barndominiums, farm structures, workshops
- Modern architectural projects: Where industrial aesthetic is desired
- Energy-efficient construction: Net-zero or passive house projects
- Temporary/auxiliary structures: Garages, workshops, storage buildings
Residential limitations:
- Building codes may restrict use in residential zones
- Aesthetic appearance may not match neighborhood character
- Limited availability of residential-scale panels
- Higher cost relative to traditional residential roofing
- Resale value concerns in conventional residential markets
Project size considerations:
- Under 200 square meters: Traditional roofing often more cost-effective
- 200-1000 square meters: Sandwich panels become competitive
- Over 1000 square meters: Sandwich panels typically most economical
Choose sandwich panels for commercial projects when energy codes are stringent, construction schedules are tight, or long-term operating costs are critical. Consider alternatives for residential projects unless specific performance requirements justify the additional cost and aesthetic trade-offs.
Sandwich Panel Roof Maintenance and Lifespan
Sandwich panel roofs typically last 25-30 years with proper maintenance, significantly outperforming many traditional roofing systems. The key to achieving maximum lifespan lies in regular inspection and preventive maintenance of joints, fasteners, and drainage systems.
Essential maintenance schedule:
- Monthly: Visual inspection for obvious damage or debris
- Quarterly: Gutter and drain cleaning, especially after storms
- Semi-annually: Detailed joint and sealant inspection
- Annually: Professional assessment of fasteners and structural connections
Specific maintenance tasks:
- Joint inspection: Check all panel joints for sealant adhesion and cracking
- Fastener assessment: Verify fastener tightness and check for corrosion
- Drainage maintenance: Clear gutters, downspouts, and roof drains
- Surface cleaning: Remove debris that could cause punctures or retain moisture
- Penetration sealing: Inspect and maintain seals around equipment and penetrations
Factors affecting lifespan:
- Climate conditions: Coastal environments may reduce lifespan due to salt exposure
- Installation quality: Proper installation can extend life by 5-10 years
- Panel thickness: Thicker panels (150mm+) typically last longer than thin panels
- Core material: Rockwool cores often provide longer service life than foam cores
- Maintenance frequency: Regular maintenance can double effective lifespan
Signs requiring immediate attention:
- Visible rust or corrosion on metal surfaces
- Sealant separation or cracking at joints
- Loose or missing fasteners
- Standing water or drainage problems
- Interior water stains or leaks
Lifespan by core material:
- Rockwool: 30-40 years (excellent durability, fire resistance)
- PU foam: 25-30 years (good performance, moderate durability)
- EPS: 20-25 years (adequate performance, economy option)
- PIR: 25-35 years (excellent thermal retention, good durability)
Maintenance cost expectations: Budget 1-2% of initial roof cost annually for maintenance. This investment typically prevents major repairs and extends roof life significantly.
For guidance on panel thickness selection that affects longevity, see our guide to choosing sandwich panel thickness.
Common Mistakes When Installing Sandwich Panel Roofs
Installation errors account for 80% of sandwich panel roof performance problems, making proper technique critical for long-term success. Most mistakes involve inadequate sealing, incorrect fastening patterns, or failure to address thermal bridging.
Critical installation mistakes:
Inadequate joint sealing represents the most common error. Installers often apply insufficient sealant or use incompatible products, leading to water infiltration and thermal bridging. Always use manufacturer-specified sealants in recommended quantities.
Incorrect fastener spacing and type causes structural failures and leaks. Standard roofing screws cannot provide adequate holding power for sandwich panels. Use only fasteners specified for the panel thickness and substrate material.
Thermal bridging at connections occurs when metal fasteners or supports create continuous thermal paths through the insulation. Install thermal breaks at all structural connections and avoid over-fastening.
Poor panel alignment creates irregular joint gaps and stress concentrations. Establish proper reference lines and maintain consistent panel positioning throughout installation.
Inadequate structural support leads to panel deflection and joint failure. Verify that structural framing meets panel manufacturer's requirements before installation begins.
Installation in poor weather traps moisture in joints and prevents proper sealant curing. Never install panels when surfaces are wet or when rain is expected within 24 hours.
Mistake prevention strategies:
- Follow manufacturer installation manuals exactly
- Train installation crews on sandwich panel-specific techniques
- Use proper lifting and handling equipment to prevent panel damage
- Maintain clean work surfaces and tools
- Allow adequate time for proper sealant application
Quality control checkpoints:
- Verify panel alignment before final fastening
- Check sealant application at each joint
- Confirm fastener type and spacing meets specifications
- Test drainage and weatherproofing before final acceptance
When mistakes occur: Address installation errors immediately during construction. Post-installation corrections are significantly more expensive and may require panel replacement.
Edge case: Mistakes in complex roof geometries often compound, requiring systematic repair starting from a known good reference point.
Sandwich Panel Roof Thermal Insulation R-Value Ratings
Thermal performance varies significantly among sandwich panel core materials, with R-values ranging from R-4 to R-8 per inch of thickness. Understanding these differences is crucial for meeting energy codes and achieving desired building performance.
R-value by core material (per inch):
- Polyurethane (PU): R-6.5 to R-8.0 – highest thermal efficiency
- Polyisocyanurate (PIR): R-6.8 to R-7.5 – excellent performance with stability
- Expanded Polystyrene (EPS): R-3.8 to R-4.2 – economical option
- Rockwool: R-4.0 to R-4.5 – moderate insulation with fire resistance
Panel thickness and total R-value:
- 75mm panels: R-12 to R-24 depending on core material
- 100mm panels: R-15 to R-32 depending on core material
- 150mm panels: R-23 to R-48 depending on core material
- 200mm panels: R-30 to R-64 depending on core material
Factors affecting thermal performance:
- Thermal bridging: Metal fasteners and supports can reduce effective R-value by 15-25%
- Joint quality: Poor sealing allows air infiltration, reducing thermal efficiency
- Age degradation: Some foam cores lose R-value over time, particularly EPS
- Moisture infiltration: Wet insulation loses thermal performance dramatically
Energy code compliance:
Most commercial energy codes require R-20 to R-30 roof insulation. This typically requires:
- 100mm PU panels for R-20 compliance
- 75mm PIR panels for moderate climate zones
- 150mm EPS panels for high-performance requirements
- Rockwool panels may require greater thickness for equivalent thermal performance
Performance optimization strategies:
- Select core material based on climate zone requirements
- Minimize thermal bridging with proper fastening techniques
- Ensure continuous insulation at panel joints
- Consider double-layer installation for extreme performance requirements
For detailed thermal performance analysis, consult our thermal performance sandwich panel guide which includes climate-specific recommendations.
Choose thicker panels if energy codes are stringent or long-term energy savings justify higher initial costs. Select standard thickness if code compliance is the primary goal and budget constraints are significant.
Can You Repair a Damaged Sandwich Panel Roof Section
Damaged sandwich panel roof sections can often be repaired without full panel replacement, depending on the extent and type of damage. Minor punctures, sealant failures, and surface damage are typically repairable, while structural damage or extensive core deterioration may require panel replacement.
Repairable damage types:
- Small punctures: Holes under 25mm diameter from impact or fastener damage
- Surface scratches: Coating damage without core exposure
- Joint sealant failure: Separated or cracked sealant at panel connections
- Minor dents: Surface deformation without core compression
- Edge damage: Limited damage to panel ends or sides
Repair procedures for common damage:
Puncture repair:
- Clean damaged area and remove loose material
- Apply compatible primer to exposed metal surfaces
- Fill puncture with structural adhesive or foam sealant
- Apply patch material over repair area
- Seal patch edges with weather sealant
Joint resealing:
- Remove old sealant completely from joint surfaces
- Clean joint with appropriate solvent
- Apply primer if required by sealant manufacturer
- Install new sealant per manufacturer specifications
- Tool sealant for proper profile and adhesion
Surface coating repair:
- Sand damaged area to remove loose coating
- Clean with degreasing agent
- Apply primer matching original system
- Apply finish coat to match existing color and texture
Non-repairable damage requiring replacement:
- Core material deterioration or water saturation
- Structural damage affecting panel integrity
- Extensive surface damage over large areas
- Damage to panel connection systems
- Fire or chemical damage
Repair vs replacement decision factors:
- Damage extent: Repairs over 25% of panel area often not cost-effective
- Age of existing panels: Old panels may not warrant expensive repairs
- Matching materials: Availability of compatible repair materials
- Performance requirements: Critical applications may require replacement for reliability
Professional assessment recommended when damage involves structural elements, multiple panels, or safety concerns. DIY repairs should be limited to minor surface damage only.
Sandwich Panel Roof Fire Rating and Safety Standards
Fire ratings for sandwich panel roofs vary dramatically based on core material, with classifications ranging from highly combustible to completely non-combustible. Understanding these ratings is critical for code compliance and occupant safety.
Fire rating classifications:
- Class A1 (Non-combustible): Rockwool and mineral fiber cores
- Class B (Limited combustibility): PIR cores with fire retardants
- Class C (Combustible): Standard PU foam cores
- Class D-F (Highly combustible): EPS cores without fire treatment
Rockwool panels achieve A1 non-combustible rating and can provide fire resistance up to 4 hours when properly detailed. These panels do not contribute fuel to fires and maintain structural integrity longer than foam cores.
PIR foam cores offer improved fire performance compared to standard PU, with lower smoke generation and reduced flame spread. Many PIR cores achieve B or C ratings depending on formulation and thickness.
Standard PU and EPS cores typically require fire-rated barriers or sprinkler protection in many building types. These materials can contribute to fire spread if not properly protected.
Building code requirements vary by:
- Occupancy type: Industrial vs commercial vs institutional requirements
- Building height: High-rise buildings have stricter requirements
- Proximity to property lines: Fire separation distance affects requirements
- Sprinkler protection: Sprinklered buildings may allow lower-rated materials
Fire safety design considerations:
- Install fire stops at panel joints in fire-rated assemblies
- Provide proper separation from heat sources
- Consider smoke generation characteristics for occupied buildings
- Plan emergency egress routes considering panel fire performance
- Coordinate with local fire department requirements
Testing standards:
- ASTM E84: Surface burning characteristics (flame spread and smoke)
- ASTM E119: Fire resistance of building assemblies
- ISO 13784: Fire performance of sandwich panels
- FM 4880: Fire performance of roof assemblies
For fire-rated applications, consult our fire rated sandwich panel guide which covers code requirements and product selection.
Choose rockwool cores when fire safety is paramount or codes require non-combustible construction. Select PIR cores when moderate fire performance improvement over PU is needed. Use PU or EPS cores only when fire protection systems compensate for material limitations.
Sandwich Panel Roof Condensation Issues: How to Prevent
Condensation in sandwich panel roofs occurs when warm, moist air contacts cold surfaces, typically at thermal bridges or areas with inadequate vapor control. Prevention requires proper vapor barrier installation, thermal bridge elimination, and adequate ventilation design.
Primary condensation causes:
- Thermal bridging at fasteners and structural connections creates cold spots
- Vapor barrier failures allow moisture penetration into the roof assembly
- Inadequate ventilation traps moisture-laden air in roof spaces
- Temperature differentials between interior and exterior environments
- High interior humidity from processes or inadequate environmental controls
Condensation prevention strategies:
Vapor barrier installation requires continuous membrane on the warm side of insulation. Use appropriate vapor barrier materials rated for the temperature and humidity conditions. Seal all penetrations and joints completely.
Thermal bridge elimination involves installing thermal breaks at all structural connections. Use non-conductive spacers or gaskets between metal components. Avoid continuous metal paths through the insulation layer.
Proper fastening techniques minimize thermal bridging while maintaining structural integrity. Use fasteners with thermal breaks or limit fastener penetration depth. Consider mechanical attachment systems that reduce fastener quantity.
Ventilation design should provide adequate air changes to remove moisture buildup. Calculate ventilation requirements based on interior moisture generation and climate conditions. Install ventilation systems with appropriate controls.
Design details for condensation control:
- Install continuous vapor barrier with sealed joints
- Use thermal break gaskets at panel supports
- Provide adequate roof slope for drainage (minimum 1:40)
- Install ventilation at ridge and eave locations
- Consider dehumidification for high-moisture applications
High-risk applications requiring special attention:
- Swimming pools and recreational facilities
- Food processing and commercial kitchens
- Laundries and textile facilities
- Greenhouses and agricultural buildings
- Cold storage and refrigerated warehouses
Condensation problem indicators:
- Water droplets on interior surfaces
- Rust or corrosion on metal components
- Mold or mildew growth
- Deterioration of interior finishes
- Ice formation in cold weather
Remedial measures for existing condensation:
- Identify and seal air leakage paths
- Improve interior ventilation systems
- Install additional vapor barriers if accessible
- Reduce interior humidity sources
- Add thermal breaks at problem locations
Edge case: Some industrial processes generate extreme humidity levels that may require specialized dehumidification systems regardless of roof design quality.
Sandwich Panel Roof Ventilation Requirements
Proper ventilation design for sandwich panel roofs depends on building use, climate conditions, and interior moisture generation. Unlike traditional roofing systems, sandwich panels require careful integration of ventilation components to maintain thermal performance while providing adequate air exchange.
Ventilation design principles:
- Calculate air changes based on building volume and occupancy requirements
- Balance intake and exhaust to prevent pressure imbalances
- Minimize thermal bridging at ventilation penetrations
- Coordinate with HVAC systems to optimize overall building performance
- Consider seasonal variations in ventilation requirements
Ventilation methods for sandwich panel roofs:
Ridge ventilation provides natural exhaust through continuous or intermittent ridge vents. Install ridge vents with proper weather sealing and insect screening. Maintain thermal breaks between vent components and roof structure.
Eave ventilation supplies fresh air intake when combined with ridge exhaust. Size eave vents to provide adequate air flow without creating excessive air velocities. Protect eave vents from weather infiltration.
Mechanical ventilation offers precise control over air exchange rates and can provide heating or cooling as needed. Size fans based on calculated air change requirements. Install with proper vibration isolation and weather protection.
Power ventilation combines natural and mechanical systems for optimal performance. Use temperature or humidity controls to operate fans only when needed. Provide backup power for critical applications.
Ventilation rate calculations:
- General storage: 0.5 to 1.0 air changes per hour
- Light manufacturing: 2 to 4 air changes per hour
- Heavy industrial: 4 to 8 air changes per hour
- Agricultural: 6 to 12 air changes per hour depending on livestock density
Special ventilation considerations:
- Condensation control: Higher ventilation rates may be needed in high-humidity applications
- Energy efficiency: Balance ventilation requirements with heating/cooling costs
- Code compliance: Meet minimum ventilation requirements for occupancy type
- Process requirements: Some industrial processes require specific air change rates
Integration with sandwich panels:
- Use manufacturer-approved penetration details
- Install thermal breaks at all ventilation connections
- Seal all penetrations with compatible sealants
- Maintain structural integrity of panel system
Ventilation system maintenance:
- Clean intake screens and filters regularly
- Inspect fan operation and controls
- Check damper operation and sealing
- Verify ventilation rates meet design requirements
For agricultural applications requiring specialized ventilation, see our poultry farm sandwich panel guide which covers livestock ventilation requirements.
Frequently Asked Questions
How long do sandwich panel roofs typically last?
Sandwich panel roofs typically last 25-30 years with proper installation and maintenance. Rockwool core panels may last 30-40 years, while EPS panels generally provide 20-25 years of service life. Regular maintenance can extend these lifespans significantly.
Can sandwich panels be installed over existing roofing?
Yes, sandwich panels can often be installed over existing roofing if the structure can support the additional load and proper ventilation is maintained. A structural engineer should verify load capacity, and building codes may require removal of existing roofing materials.
What is the minimum roof slope for sandwich panels?
The minimum roof slope for sandwich panels is typically 1:40 (1.4 degrees) for proper drainage. Steeper slopes of 1:20 or greater provide better long-term performance by ensuring rapid water runoff and reducing standing water risks.
Do sandwich panels require special tools for cutting?
Yes, sandwich panels require specialized cutting tools to prevent core material damage and ensure clean edges. Use fine-tooth circular saws, nibbling tools, or manufacturer-recommended cutting equipment. Never use flame cutting or abrasive wheels that can damage the core.
How do you handle thermal expansion in sandwich panel roofs?
Thermal expansion is managed through proper joint design, expansion joints at building transitions, and flexible sealants that accommodate movement. Allow 6-12mm expansion joints every 30-40 meters depending on climate and panel material.
Can sandwich panels support rooftop equipment?
Sandwich panels can support rooftop equipment when properly designed and reinforced. Install equipment supports that distribute loads to the building structure rather than relying solely on panel strength. Use thermal breaks to prevent condensation.
What happens if a sandwich panel gets punctured?
Small punctures can be repaired using compatible sealants and patch materials. Clean the damaged area, apply primer if needed, fill the puncture with structural sealant, and cover with a patch. Large punctures may require panel replacement.
Are sandwich panels suitable for high wind areas?
Yes, sandwich panels perform well in high wind areas when properly designed and installed. Use appropriate fastener spacing, structural support, and edge details rated for local wind loads. Consult structural engineers for extreme wind conditions.
How do you prevent ice dams with sandwich panels?
Prevent ice dams by maintaining consistent roof surface temperatures through proper insulation, eliminating thermal bridges, and ensuring adequate ventilation. Install heating cables at eaves if necessary in severe climates.
Can sandwich panels be painted or refinished?
Yes, sandwich panels can be painted or refinished using compatible coating systems. Clean the surface thoroughly, apply appropriate primer, and use finish coats designed for metal roofing. Follow manufacturer recommendations for surface preparation and coating selection.
What building codes apply to sandwich panel roofs?
Sandwich panel roofs must comply with local building codes covering structural loads, fire ratings, energy efficiency, and installation methods. Common applicable codes include IBC, IRC, and local amendments. Verify requirements with local building officials.
How do you handle snow loads on sandwich panels?
Snow loads are handled through proper structural design and panel selection. Calculate snow loads per local building codes and verify that both panels and supporting structure can handle these loads. Consider snow guards for steep roofs in heavy snow areas.
Conclusion
Roofing sandwich panel roof detail represents a sophisticated building technology that delivers superior thermal performance, structural efficiency, and construction speed when properly designed and installed. The key to success lies in understanding the critical details: proper joint sealing, thermal bridge elimination, appropriate core material selection, and professional installation techniques.
Take action on your sandwich panel roof project:
- Assess your specific requirements including thermal performance needs, fire ratings, budget constraints, and local building codes
- Select appropriate core materials based on your priority between thermal efficiency (PU/PIR), fire resistance (rockwool), or cost-effectiveness (EPS)
- Engage qualified professionals for both design and installation to ensure proper performance and warranty coverage
- Plan for long-term maintenance with regular inspections and preventive care to maximize roof lifespan
- Consider total lifecycle costs rather than just initial material prices when making decisions
For expert guidance on your specific project, consult with qualified sandwich panel manufacturers who can provide technical support and ensure proper material selection for your application.
SEO Meta Title: Roofing Sandwich Panel Roof Detail: Complete 2026 Guide