Last updated: July 31, 2026

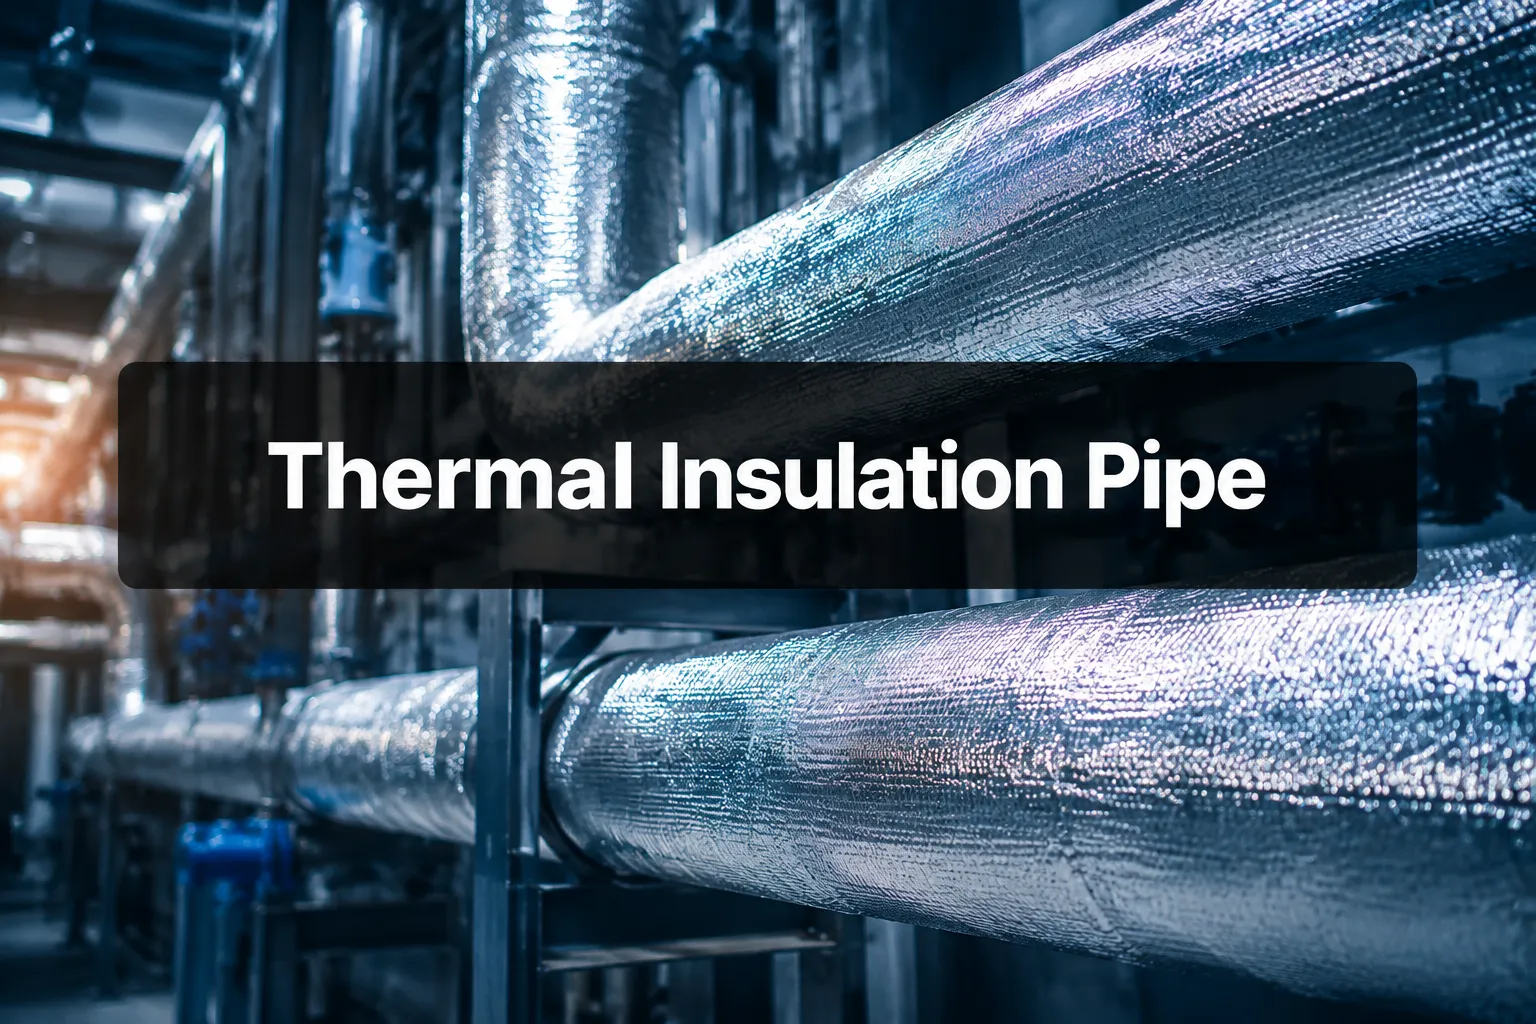
Industrial facilities lose up to 30% of their energy costs through uninsulated piping systems. A thermal insulation pipe is a specialized piping system wrapped or constructed with insulating materials to prevent heat transfer, reduce energy consumption, and maintain consistent fluid temperatures in heating, cooling, and process applications.
Key Takeaways
- Thermal insulation pipe reduces energy costs by 15-40% in most commercial and industrial applications
- Common materials include fiberglass, foam rubber, polyurethane foam, and mineral wool with varying temperature ranges
- Proper thickness selection depends on pipe diameter, operating temperature, and ambient conditions
- Installation requires vapor barriers in cold applications and weather protection for outdoor use
- Pre-insulated pipes offer better performance than field-applied insulation but cost 20-50% more upfront
- Regular inspection prevents moisture infiltration that can destroy insulation effectiveness
- ROI typically occurs within 1-3 years through reduced energy bills
What Is Thermal Insulation Pipe Used For
Thermal insulation pipe serves three primary functions: energy conservation, temperature maintenance, and condensation control. These systems prevent heat loss in hot water lines, reduce heat gain in chilled water systems, and maintain process temperatures in industrial applications.
The most common applications include:
- HVAC systems – Hot water heating lines, chilled water cooling loops, and steam distribution
- Industrial processes – Chemical processing, food production, and manufacturing where temperature control is critical
- Domestic plumbing – Hot water supply lines, especially in unheated spaces like basements and crawlways
- Solar thermal systems – Connecting collectors to storage tanks while minimizing heat loss
- District heating – Large-scale hot water or steam distribution networks
Pre-insulated pipe systems are particularly valuable in underground installations where access for maintenance is limited. The factory-applied insulation and protective casing provide decades of reliable performance compared to field-applied alternatives.
How Does Pipe Insulation Work
Pipe insulation works by creating a barrier that slows heat transfer through conduction, convection, and radiation. The insulating material contains trapped air or gas that has low thermal conductivity, preventing temperature exchange between the pipe contents and surrounding environment.
Heat transfer mechanisms addressed:
- Conduction – Direct heat transfer through solid materials is reduced by low-conductivity insulation
- Convection – Air movement around pipes is blocked by the insulation barrier
- Radiation – Reflective facings on some insulations deflect radiant heat transfer
The effectiveness depends on the insulation's R-value (thermal resistance) and proper installation without gaps or compression. A continuous thermal barrier must surround the entire pipe, including fittings and valves, to prevent thermal bridging.
Vapor barriers are essential in cold applications to prevent moisture from reaching the pipe surface where it could freeze or cause corrosion. Without proper vapor sealing, humid air can penetrate the insulation and condense, destroying the thermal performance.
Types of Thermal Insulation Pipe Materials
Fiberglass remains the most cost-effective option for moderate temperature applications up to 450°F. It provides good thermal performance at $2-4 per linear foot but requires careful handling due to irritating fibers.
Flexible foam rubber (elastomeric) excels in HVAC applications with built-in vapor barriers and easy installation. Operating range extends from -40°F to 220°F with costs of $3-6 per linear foot.
Polyurethane foam offers the highest R-value per inch, making it ideal for space-constrained installations. Temperature range spans -100°F to 250°F, though costs run $5-10 per linear foot.
Mineral wool (rockwool or slag wool) handles high temperatures up to 1200°F and provides fire resistance. Industrial applications justify the $4-8 per linear foot cost where extreme temperatures occur.
Calcium silicate serves the highest temperature applications above 1200°F but requires protective cladding and professional installation. Costs range $8-15 per linear foot.
Choose fiberglass for budget-conscious projects, foam rubber for HVAC systems, polyurethane where space is limited, and mineral wool for high-temperature industrial processes. For comprehensive guidance on thermal insulation sandwich panel systems, consider integrated building solutions.
Thermal Insulation Pipe Cost Comparison
Material costs represent 40-60% of total project expenses, with labor and accessories comprising the remainder. Basic fiberglass insulation runs $2-4 per linear foot, while premium polyurethane systems cost $5-10 per linear foot.
Installation complexity significantly impacts labor costs. Straight runs in accessible areas cost $3-5 per linear foot for labor, while complex routing around obstacles can reach $8-12 per linear foot.
| Material Type | Material Cost/LF | Installation Cost/LF | Total Cost/LF | Lifespan |
|---|---|---|---|---|
| Fiberglass | $2-4 | $3-5 | $5-9 | 15-20 years |
| Foam Rubber | $3-6 | $2-4 | $5-10 | 10-15 years |
| Polyurethane | $5-10 | $4-6 | $9-16 | 20-25 years |
| Mineral Wool | $4-8 | $4-7 | $8-15 | 25-30 years |
Pre-insulated pipe systems cost 20-50% more upfront but reduce installation time by 60-80% and provide superior long-term performance. The higher initial investment typically pays back within 2-3 years through energy savings and reduced maintenance.
Consider total lifecycle costs rather than just initial expenses. Premium materials with longer lifespans often provide better value despite higher upfront costs.
Best Thermal Insulation Pipe for Hot Water Systems
Closed-cell foam rubber provides the optimal balance of performance, durability, and cost for most hot water applications. The built-in vapor barrier prevents condensation issues, and the flexible material accommodates thermal expansion without cracking.
For residential hot water lines operating at 120-140°F, choose 1/2-inch thick foam rubber insulation with a minimum R-value of 4. This thickness provides excellent energy savings while remaining cost-effective for most homeowners.
Commercial hot water systems operating at 160-180°F benefit from thicker insulation (3/4 to 1 inch) or higher-performance materials like polyurethane foam. The additional cost is justified by greater energy savings and reduced heat loss.
Key selection criteria for hot water systems:
- Temperature rating exceeding maximum operating temperature by 50°F safety margin
- Closed-cell structure to prevent water absorption
- UV resistance for outdoor installations
- Flame spread rating suitable for building codes
- Ease of installation around fittings and valves
Avoid open-cell materials that can absorb moisture and lose thermal performance. For comprehensive solutions, explore pipe insulation sandwich panel options that integrate multiple building systems.
Thermal Insulation Pipe Installation Guide
Preparation begins with cleaning the pipe surface and ensuring it's dry before insulation application. Measure the total linear footage needed and add 10% for waste and fitting coverage.
Step-by-step installation process:
- Cut insulation to length using a sharp knife, leaving 1/4-inch gaps at joints to allow for expansion
- Apply vapor barrier (if required) by wrapping the pipe with vapor-retarding tape or membrane
- Install insulation by wrapping around the pipe with seams on the bottom to shed water
- Secure with tape or bands every 12-18 inches, avoiding compression that reduces R-value
- Seal all joints with appropriate tape or mastic to prevent thermal bridging
- Install weather protection for outdoor applications using aluminum or PVC cladding
Critical installation details:
- Maintain continuous coverage without gaps at supports, hangers, or penetrations
- Use pre-formed fittings for elbows, tees, and valves rather than trying to wrap with straight sections
- Install expansion joints in long runs to accommodate thermal movement
- Provide adequate support to prevent sagging that creates air gaps
Common installation mistakes include compressing the insulation during installation, leaving gaps at fittings, and failing to seal vapor barriers properly. These errors can reduce thermal performance by 30-50%.
Can You Use Thermal Insulation Pipe Outdoors
Yes, thermal insulation pipe can be used outdoors with proper weather protection and UV-resistant materials. However, most insulation materials require protective cladding to prevent degradation from sunlight, moisture, and physical damage.
Outdoor installation requirements:
- Weather barrier – Aluminum, stainless steel, or PVC cladding to shed water and protect from UV
- Vapor seal – Continuous moisture barrier to prevent water infiltration
- Drainage – Sloped cladding and weep holes to eliminate standing water
- Expansion accommodation – Flexible connections to handle thermal movement
- Support spacing – Closer hanger spacing to support the additional weight of cladding
Material selection for outdoor use:
Choose closed-cell foam or mineral wool over fiberglass for better moisture resistance. Polyurethane foam with factory-applied protective cladding provides excellent long-term performance but costs more initially.
Underground installations require special consideration for groundwater, soil chemicals, and load-bearing requirements. Pre-insulated pipe systems with polyethylene or steel casings are typically the most reliable choice for buried applications.
Avoid exposed foam rubber or fiberglass outdoors without proper protection. These materials will degrade rapidly when exposed to UV radiation and moisture cycling.
Thermal Insulation Pipe vs Foam Wrap Comparison
Pre-manufactured thermal insulation pipe offers superior performance and longevity compared to field-applied foam wrap. The factory-controlled environment ensures consistent insulation thickness, proper vapor barriers, and quality bonding between materials.
Performance differences:
- Thermal efficiency – Pre-insulated systems achieve 15-25% better thermal performance due to consistent coverage and minimal thermal bridging
- Moisture protection – Factory-applied vapor barriers provide more reliable sealing than field-wrapped systems
- Installation speed – Pre-insulated pipe installs 60-80% faster than field-wrapping individual pipes
- Long-term durability – Integrated systems last 20-30 years versus 10-15 years for foam wrap
Cost considerations:
Foam wrap costs $2-4 per linear foot installed, while pre-insulated pipe systems run $6-12 per linear foot. However, the energy savings and reduced maintenance often justify the higher initial cost within 2-3 years.
When to choose each option:
- Foam wrap – Retrofit applications, budget constraints, simple straight runs
- Pre-insulated pipe – New construction, underground installations, critical temperature control applications
For complex projects requiring integrated building solutions, consider thermal performance sandwich panel systems that coordinate multiple building components.
Thermal Insulation Pipe Thickness Selection Guide
Insulation thickness depends on pipe diameter, operating temperature differential, and economic optimization between material costs and energy savings. Thicker insulation reduces heat loss but increases material and installation costs.
Standard thickness recommendations:
- 1/2 to 1 inch – Residential hot water lines (120-140°F)
- 1 to 2 inches – Commercial HVAC systems (160-200°F)
- 2 to 4 inches – Industrial process piping (200-400°F)
- 4+ inches – High-temperature steam systems (400°F+)
Economic thickness calculation considers energy costs, insulation costs, and system operating hours. In most commercial applications, increasing thickness from 1 inch to 2 inches provides excellent ROI, while going beyond 3 inches shows diminishing returns.
| Pipe Size | 120°F System | 180°F System | 250°F System |
|---|---|---|---|
| 1/2″ – 1″ | 1/2″ | 1″ | 1.5″ |
| 1.5″ – 3″ | 1″ | 1.5″ | 2″ |
| 4″ – 6″ | 1.5″ | 2″ | 3″ |
| 8″ – 12″ | 2″ | 3″ | 4″ |
Space constraints may limit thickness options in crowded mechanical rooms or tight crawl spaces. In these situations, choose higher-performance insulation materials like polyurethane foam to achieve better thermal performance with reduced thickness.
Why Insulated Pipes Still Lose Heat
Thermal bridging occurs when uninsulated supports, hangers, or fittings create paths for heat transfer around the insulation. Metal pipe supports can transfer significant heat even when the pipe itself is well-insulated.
Common heat loss causes:
- Gaps in insulation at joints, fittings, or penetrations allow air circulation that defeats the thermal barrier
- Compressed insulation loses R-value when squeezed during installation or by tight bands
- Moisture infiltration destroys insulation performance by replacing trapped air with water
- Inadequate thickness for the temperature differential and economic optimization
- Poor vapor sealing allows humid air to reach cold surfaces where it condenses
Installation quality significantly impacts real-world performance. Even premium insulation materials perform poorly if installed with gaps, compression, or inadequate sealing.
Age-related degradation reduces insulation effectiveness over time. Foam materials can shrink, fiberglass can settle, and protective facings can deteriorate, creating gaps that allow heat transfer.
Troubleshooting heat loss:
- Inspect for visible gaps or damaged sections
- Check for moisture stains indicating vapor barrier failure
- Verify adequate thickness for the application
- Examine supports and hangers for thermal bridging
- Consider thermal imaging to identify problem areas
Regular maintenance and inspection prevent small problems from becoming major energy losses.
Thermal Insulation Pipe for RV and Mobile Home Applications
RV and mobile home installations face unique challenges including vibration, space constraints, and accessibility limitations. Flexible insulation materials that can accommodate movement work better than rigid options.
Recommended materials for mobile applications:
- Flexible foam rubber – Handles vibration well and provides built-in vapor barriers
- Spray foam – Fills irregular spaces and adheres well to prevent shifting
- Reflective bubble wrap – Lightweight option for space-constrained installations
Installation considerations:
Mobile homes experience greater temperature swings and air infiltration than site-built homes, making insulation more critical for comfort and energy efficiency. Focus on hot water lines in unheated spaces like belly areas and exterior walls.
Thickness recommendations:
Use 3/4 to 1 inch thickness for hot water lines and 1/2 inch for cold water lines in freezing climates. The additional thickness compensates for the challenging environment and limited heating.
Accessibility planning is crucial since repairs in mobile home belly areas are difficult. Choose durable materials and install access panels at key locations for future maintenance.
For comprehensive mobile building solutions, explore energy efficient sandwich panel systems designed for transportable structures.
How Long Does Thermal Insulation Pipe Last
Lifespan varies significantly by material type, installation quality, and environmental conditions. Properly installed systems in benign indoor environments can last 20-30 years, while harsh outdoor conditions may require replacement in 10-15 years.
Material durability rankings:
- Mineral wool – 25-30 years with excellent high-temperature resistance
- Polyurethane foam – 20-25 years with superior moisture resistance
- Fiberglass – 15-20 years when properly protected from moisture
- Foam rubber – 10-15 years with good flexibility but UV sensitivity
Factors affecting lifespan:
- Moisture exposure – The primary cause of premature insulation failure
- Temperature cycling – Repeated expansion and contraction stresses materials
- UV radiation – Degrades most insulation materials within months without protection
- Physical damage – Impact, abrasion, or compression reduces effectiveness
- Chemical exposure – Industrial environments may accelerate degradation
Maintenance extends lifespan through regular inspection, prompt repair of damaged sections, and replacement of deteriorated weather barriers. Annual visual inspections can identify problems before they cause major performance loss.
Warning signs requiring attention:
- Visible moisture stains or mold growth
- Sagging or compressed insulation sections
- Damaged or missing protective cladding
- Gaps at joints or fittings
- Increased energy consumption without other causes
Plan for insulation replacement as part of long-term building maintenance budgets.
Thermal Insulation Pipe for Freezing Temperature Protection
Freeze protection requires thicker insulation and often supplemental heat tracing to prevent water lines from freezing in sub-zero conditions. Insulation alone cannot prevent freezing in stagnant water systems during extended cold periods.
Minimum insulation requirements for freeze protection:
- Above 20°F – 1 inch thickness on water lines with some flow
- 0°F to 20°F – 1.5 to 2 inches thickness plus wind protection
- Below 0°F – 2+ inches thickness plus heat tracing recommended
Heat tracing integration provides active freeze protection when insulation alone is insufficient. The insulation reduces the energy required for heat tracing and provides backup protection if the heating system fails.
Installation details for cold climates:
- Seal all vapor barriers completely to prevent moisture infiltration and ice formation
- Use closed-cell insulation materials that won't absorb water
- Install wind barriers to prevent convective heat loss
- Provide adequate drainage to prevent ice dams
- Consider pipe routing to minimize exposure to cold areas
Emergency freeze prevention includes allowing faucets to drip slightly to maintain flow and opening cabinet doors to allow warm air circulation around pipes.
For cold storage applications, consider cold room insulation solutions that integrate with building systems.
Common Mistakes When Installing Pipe Insulation
Inadequate surface preparation leads to poor adhesion and gaps that allow air circulation. Clean, dry pipe surfaces are essential for proper insulation performance, especially with self-adhesive materials.
Major installation errors to avoid:
- Compressing insulation during installation reduces R-value by 20-50%
- Leaving gaps at joints, fittings, or supports creates thermal bridging
- Wrong material selection for temperature or moisture conditions
- Inadequate vapor sealing allows condensation that destroys performance
- Poor support causes sagging that creates air gaps over time
Fitting and valve coverage requires special attention since these areas have complex shapes. Use pre-formed insulation pieces rather than trying to wrap with straight sections that leave gaps.
Expansion joint planning prevents insulation damage from thermal movement. Install flexible connections or leave controlled gaps that won't compromise thermal performance.
Quality control measures:
- Inspect each section before moving to the next
- Verify continuous coverage without gaps or compression
- Test vapor barrier continuity with appropriate methods
- Document installation details for future maintenance
- Conduct thermal imaging inspection if budget allows
Training requirements ensure installers understand proper techniques and material limitations. Poor installation can reduce insulation effectiveness by 30-70% even with premium materials.
Consider professional installation for critical applications or complex systems where performance is essential for process control or energy efficiency goals.
Frequently Asked Questions
What is the difference between pipe insulation and pipe lagging?
Pipe lagging is the British term for pipe insulation. Both refer to materials applied around pipes to reduce heat transfer, though lagging sometimes specifically refers to the outer protective cladding over insulation.
Can you paint over pipe insulation?
Most insulation materials can be painted with latex paint for appearance, but avoid oil-based paints that may degrade foam materials. Painting doesn't improve thermal performance and may trap moisture if not properly ventilated.
How do you calculate pipe insulation thickness?
Use economic thickness calculations that balance insulation costs against energy savings. Online calculators consider pipe size, operating temperature, ambient conditions, energy costs, and insulation properties to determine optimal thickness.
Does pipe insulation prevent pipes from sweating?
Yes, proper insulation with vapor barriers prevents condensation on cold pipes by keeping the outer surface above the dew point temperature. The vapor barrier is crucial to prevent humid air from reaching the cold surface.
Can you reuse pipe insulation?
Rigid insulation like mineral wool can sometimes be reused if undamaged, but flexible materials like foam rubber typically cannot be reused effectively. The adhesive backing and compression during removal usually prevent proper reinstallation.
What happens if pipe insulation gets wet?
Wet insulation loses most of its thermal performance and may promote corrosion or mold growth. Remove and replace wet insulation promptly, and identify the moisture source to prevent recurrence.
How often should pipe insulation be replaced?
Inspect annually and replace when damaged, compressed, or showing moisture infiltration. Typical replacement intervals range from 10-30 years depending on material type, installation quality, and environmental conditions.
Can you install pipe insulation over existing insulation?
Adding a second layer can improve performance if the existing insulation is in good condition, but remove damaged or wet insulation first. Ensure the combined thickness doesn't create clearance problems or support issues.
What insulation works best for steam pipes?
Mineral wool or calcium silicate insulation handles high steam temperatures up to 1200°F. These materials resist moisture and maintain structural integrity at elevated temperatures where other materials would fail.
Do you need special tools to install pipe insulation?
Basic installation requires only a sharp knife and measuring tape. Complex installations may need specialized cutting tools, vapor barrier tape, and cladding installation equipment.
How do you insulate pipe fittings and valves?
Use pre-formed fitting covers or removable insulation blankets for valves that require access. Custom-fitted pieces work better than trying to wrap fittings with straight insulation sections.
Can pipe insulation reduce noise?
Some insulation materials provide modest noise reduction, but specialized acoustic insulation works better for noise control. Dense materials like mineral wool offer more sound absorption than lightweight foam.
Conclusion
Thermal insulation pipe systems deliver substantial energy savings, improved temperature control, and long-term cost benefits when properly selected and installed. The key to success lies in matching insulation materials to specific applications, ensuring proper installation techniques, and maintaining systems over their operational life.
Take action on your insulation project:
- Assess your current system – Identify uninsulated pipes and calculate potential energy savings
- Select appropriate materials – Match insulation type to temperature, moisture, and budget requirements
- Plan for proper installation – Include vapor barriers, weather protection, and expansion accommodation
- Schedule regular maintenance – Annual inspections prevent small problems from becoming major failures
- Consider professional installation – Complex systems benefit from experienced contractors who understand proper techniques
The investment in quality thermal insulation pipe systems typically pays for itself within 1-3 years through reduced energy costs, making it one of the most cost-effective building improvements available. Start with the highest-temperature applications and longest pipe runs for maximum impact, then expand to complete system coverage as budget allows.
For integrated building solutions that coordinate insulation with other building systems, explore comprehensive insulated sandwich panel options that maximize overall building performance.
SEO Meta Title: Thermal Insulation Pipe Guide: Types, Costs & Installation 2026